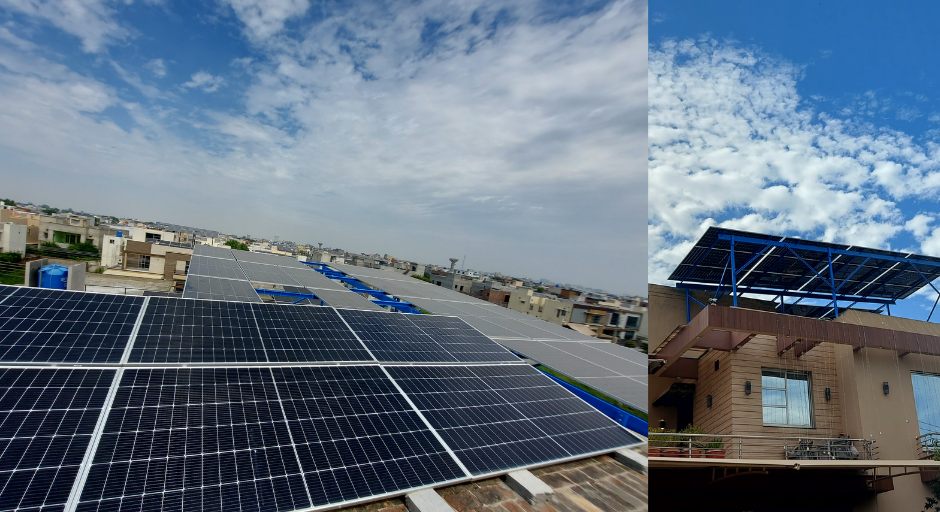
Solar energy is rapidly gaining popularity as a clean, sustainable power source. With the rise in electricity costs and environmental concerns, more homeowners are turning to solar system installation. This guide provides insights into the installation process, benefits, and essential factors to consider when switching to solar power.
Why Choose Solar System Installation?
1. Cost Savings
Solar system installation significantly reduces electricity bills. By generating your own energy, you lessen your dependence on the grid, resulting in long-term savings.
2. Environmentally Friendly
Solar power is renewable and emits zero greenhouse gases. By installing a solar system, you contribute to reducing your carbon footprint and promoting a cleaner environment.
3. Increased Property Value
Homes with solar installations often have higher resale values. Potential buyers are attracted to properties with lower energy costs, making it a wise investment.
How Does Solar System Installation Work?
1. Site Assessment and Planning
The first step involves assessing your property. A solar professional evaluates the roof’s condition, shading, and orientation to determine the best solar panel placement. This assessment ensures optimal sunlight exposure for maximum energy production.
2. Designing the Solar System
Based on the assessment, a customized solar system design is created. This design considers your energy needs, roof size, and budget to select the most efficient solar panels and inverters.
3. Obtaining Permits and Approvals
Before installation, you need to acquire the necessary permits and approvals from local authorities. Your solar installer usually handles this process, ensuring compliance with regulations.
4. Installation of Solar Panels
Once permits are in place, the solar panels are mounted on your roof. The installation process typically takes one to three days, depending on the system’s size. Panels are secured using mounting brackets, ensuring stability and safety.
5. Wiring and Connection
After mounting the panels, the system is wired to an inverter, which converts the direct current (DC) generated by the panels into alternating current (AC) for household use. This AC power is then connected to your electrical panel, allowing you to use solar energy.
6. System Testing and Activation
The final step involves testing the system to ensure it functions correctly. Once everything is verified, your solar system is activated, and you can start enjoying clean energy.
Types of Solar Panels for Installation
1. Monocrystalline Solar Panels
These panels are known for their high efficiency and longevity. Made from a single silicon crystal, they perform well even in low-light conditions but tend to be more expensive.
2. Polycrystalline Solar Panels
Polycrystalline panels are made from multiple silicon crystals, making them more affordable. Although slightly less efficient than monocrystalline panels, they are still a popular choice for residential installations.
3. Thin-Film Solar Panels
Thin-film panels are lightweight and flexible, making them ideal for unique installations. However, they have lower efficiency rates compared to crystalline panels.
Factors to Consider Before Installing a Solar System
1. Roof Condition and Space
Your roof should be in good condition and have enough space to accommodate the panels. A professional assessment will help determine if any repairs or modifications are needed.
2. Energy Consumption
Analyze your energy consumption to determine the appropriate solar system size. This analysis helps in selecting the right number of panels to meet your energy needs.
3. Budget and Financing Options
Solar system installation can be expensive, but various financing options are available, such as solar loans, leases, and power purchase agreements (PPAs). Choose the option that best fits your budget.
Maintenance Tips for Solar System Installation
1. Regular Cleaning
Dust and debris can reduce panel efficiency. Clean the panels every few months using water and a soft brush to maintain optimal performance.
2. Monitor System Performance
Regularly check your solar system’s performance through the monitoring app provided by your installer. This allows you to identify any issues and address them promptly.
3. Annual Inspections
Schedule annual inspections with your solar provider to ensure all components function correctly. This helps extend the lifespan of your solar system.
Benefits of Professional Solar System Installation
1. Expertise and Quality Workmanship
Professional installers have the experience and knowledge to handle complex installations, ensuring safety and efficiency.
2. Access to High-Quality Equipment
Professional installers use top-quality equipment, ensuring your solar system is durable and efficient.
3. Warranty and Support
Most professional solar installers offer warranties and ongoing support, providing peace of mind for your investment.
Frequently Asked Questions About Solar System Installation
Q1: How long does the installation process take?
The installation process usually takes one to three days, depending on the system’s size and complexity.
Q2: Will my solar system work during a power outage?
Unless you have a battery backup system, your solar panels will not function during a power outage for safety reasons.
Q3: How much can I save with a solar system?
Savings vary based on your location, energy consumption, and system size. On average, homeowners can save 50-75% on electricity bills.
Conclusion
Solar system installation is a smart investment that offers long-term savings, environmental benefits, and increased property value. By choosing the right solar provider and maintaining your system, you can enjoy clean, renewable energy for years to come. Start your journey towards energy independence today!


