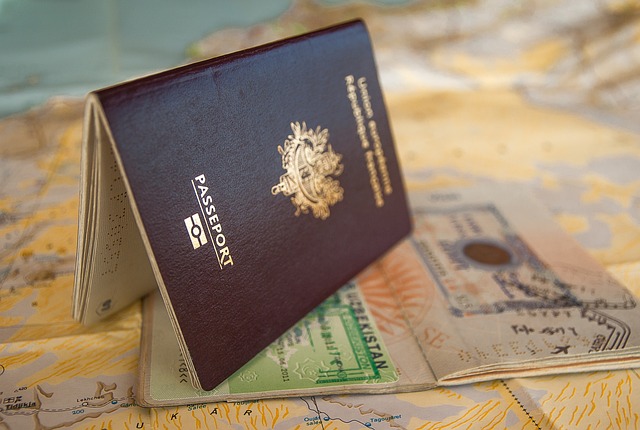
Securing a study visa is an essential step for students planning to study abroad. It involves several steps, documentation, and time, so understanding the study visa application process can make things easier and more manageable. In this guide, we’ll walk you through the process, discuss requirements, and offer tips to ensure a smooth application.
1. Understand Your Study Destination’s Visa Requirements
Each country has unique requirements for student visas, which may depend on the type of program, length of stay, and even the institution. It’s critical to research the visa process for your chosen destination early on. Most countries require proof of admission to a recognized institution, financial support, and proof of language proficiency.
- Pro Tip: Visit the official website of your destination’s embassy or consulate to get the most accurate and up-to-date information.
2. Choose the Right Type of Student Visa
Student visas come in various types based on your study level, length, and program specifics. Some common categories include:
- Short-term Study Visa: For programs lasting a few months (e.g., language courses or exchange programs).
- Long-term Study Visa: For full-time undergraduate or postgraduate courses.
- Vocational or Training Visas: For specific technical and vocational training courses.
Understanding which visa suits your study goals helps streamline the application process.
3. Prepare the Required Documents
Documentation is key in the study visa application process. Missing or incomplete paperwork can delay or even reject your application. Standard requirements include:
- Passport: Your passport should be valid for at least six months beyond your planned stay.
- Proof of Admission: This is usually an acceptance letter from your educational institution.
- Financial Evidence: Most countries require proof of funds to support tuition, living expenses, and travel costs.
- Health and Medical Insurance: Some countries, like the USA and Australia, mandate medical insurance coverage.
- Language Proficiency Proof: If the program is in English, proof of proficiency like IELTS or TOEFL scores might be necessary.
- Statement of Purpose (SOP): A written statement explaining your study goals, the chosen program, and future aspirations.
Having all documents prepared in advance will help avoid last-minute issues.
4. Complete the Visa Application Form
Most embassies or consulates offer online applications to start the study visa process. Filling out the visa form accurately is crucial, as any mistakes can lead to delays. Typically, the form requires your personal details, passport information, educational background, and purpose of travel.
- Pro Tip: Always double-check for any errors before submitting the application to avoid unnecessary delays.
5. Pay the Application Fee
Visa application fees vary by country and type of visa. Most countries provide an option to pay online, but some might require a bank transfer or in-person payment. Ensure that you receive proof of payment, as it might be needed for future reference or embassy appointments.
6. Schedule and Attend the Visa Interview
In many countries, applicants must attend a visa interview, especially for long-term study visas. This step allows the consulate officer to understand your study intentions and ensure you meet the criteria. Here’s what to expect:
- Questions About Your Study Plans: Why you chose the program, the institution, and the country.
- Financial Support: You may be asked how you’ll fund your studies and personal expenses.
- Future Plans: Most officers want to confirm that you plan to return home post-studies.
7. Provide Biometrics and Medical Examination (if required)
Some countries require applicants to provide biometrics (fingerprints and photos) as part of the visa process. This step might require an additional fee and could be conducted at the visa center. Medical exams are also common, especially in countries like Australia, Canada, and New Zealand.
8. Wait for Visa Processing
The visa processing time varies depending on the country, season, and the type of student visa. Processing can take anywhere from a few weeks to several months. Check the processing time and apply early to avoid last-minute stress.
- Pro Tip: Track your visa status through the embassy’s portal, as some delays might require your attention.
9. Receive the Visa Decision
Once processed, you’ll receive a decision, either through email or at the embassy. If approved, your visa may be stamped directly on your passport, or you might receive an e-visa. Ensure you read any guidelines or instructions that come with your visa approval.
10. Prepare for Departure
After receiving your study visa, you’re ready to start planning your journey. Some final steps include:
- Double-check the Validity: Make sure your visa allows entry dates that align with your program.
- Secure Accommodation: It’s wise to arrange housing in advance.
- Understand Local Laws: Familiarize yourself with the rules regarding student visas, including part-time work limits and visa extensions.
Common Challenges and How to Avoid Them
1. Delays Due to Incomplete Documentation
Ensure all documents meet the embassy’s guidelines. Missing or incorrect paperwork is a leading cause of delays.
2. Financial Challenges
Some students struggle to meet the financial requirements. Research scholarship options, student loans, or family support.
3. Language Proficiency Issues
Take language exams early so you have time to improve your score if necessary. Some universities offer conditional admissions for students needing further language preparation.
Final Tips for a Successful Study Visa Application
- Start Early: The study visa application process can be lengthy, so start gathering documents and completing the application several months in advance.
- Stay Organized: Keep a checklist of each step and required document to ensure nothing is overlooked.
- Stay Informed: Rules and requirements can change. Follow official sources for updates, especially regarding new regulations or policy changes.
Conclusion
The study visa application process may seem complex, but following these steps and staying organized can help simplify the journey. With preparation and the right documentation, you’ll be well on your way to starting your educational journey abroad. Good luck!


